
In this post we will discuss the implementation of Navigation and Animation in Unity. The projects were created by a team of 3 as part of a class project for Introduction to Computer Graphics at Rutgers University.
Team Members:
- Nikhil Kumar
- Erin Corrado
- Daniel Bordak
Navigation
You can play the Unity game by clicking on the link here.
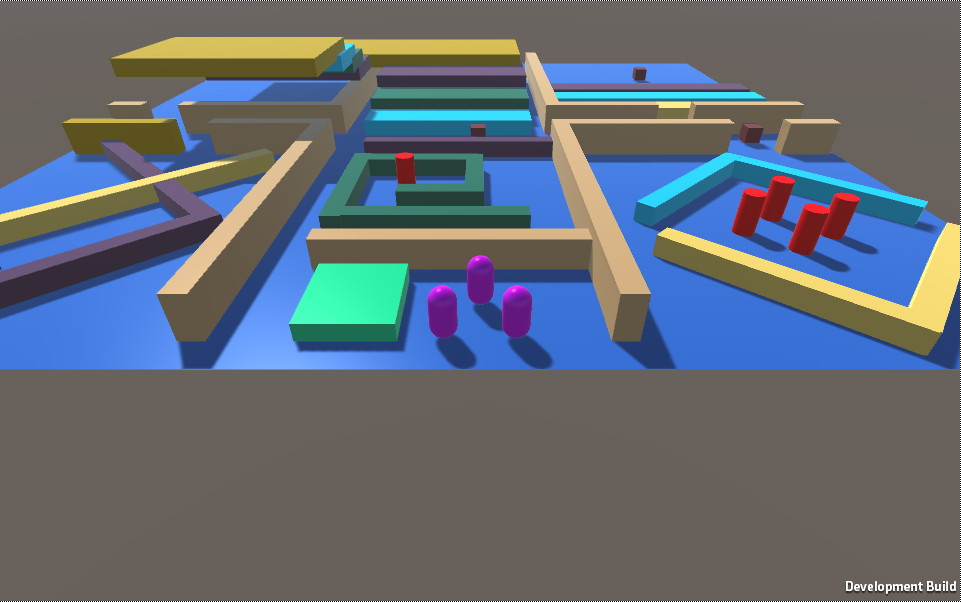
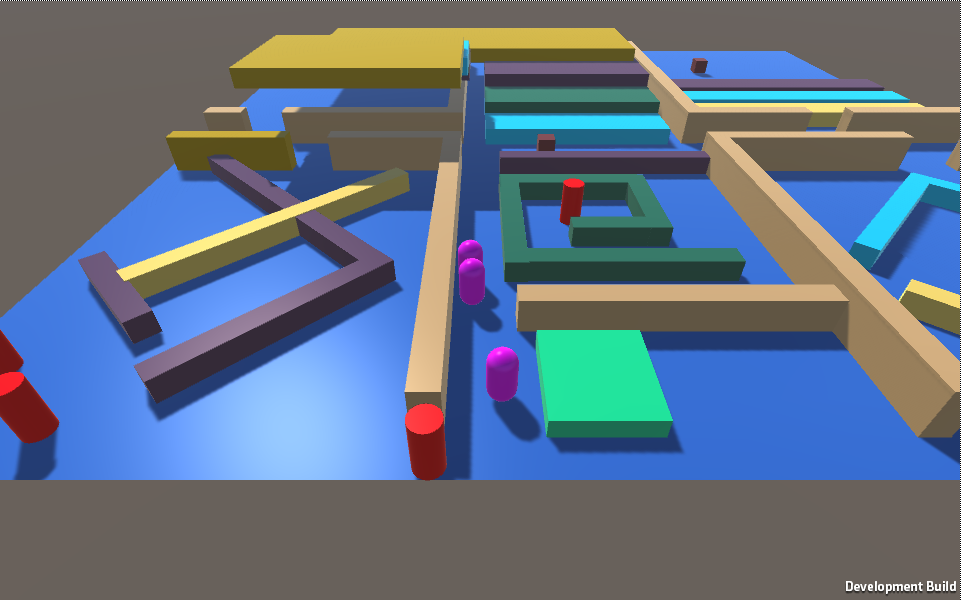
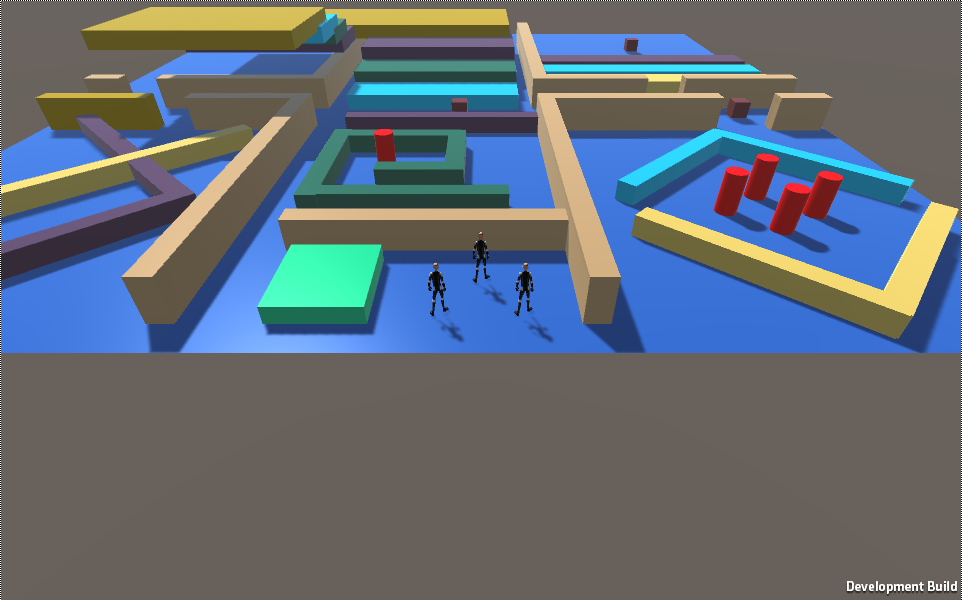
The Agents here are the purple capsules and the movable obstacles are the red cylinders.
Controls
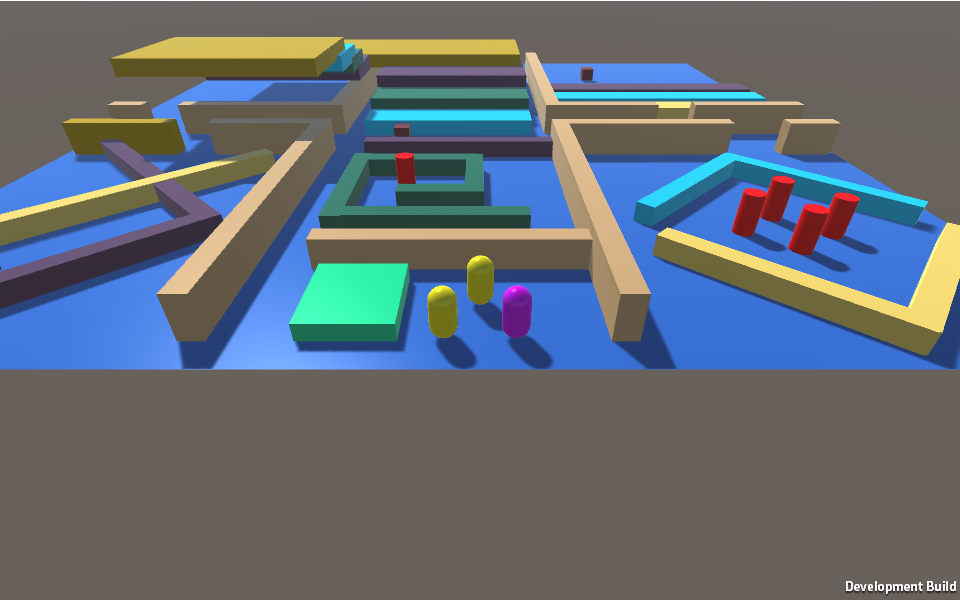
Use the Left Mouse Button to click on any Agent or obstacle. They will turn
yellow when selected. Multiple agents can be selected. Once you select your
agent, use the Right Mouse Button to choose a target for the agents. Once you
select an obstacle, it can be moved using the arrow keys.
Our first game focuses on using Unity’s Navigation system and NavMesh to create several objects.
- NavMesh Agents - objects which will navigate through the environment.
- NavMeshObstacles - Movable objects which can block the Agents in the environment.
- MeshLinks - Manual links between navigation meshes which allow agents to jump from different heights.
- Roaming Obstacles - Obstacles that automatically move through the environment.
Play Through
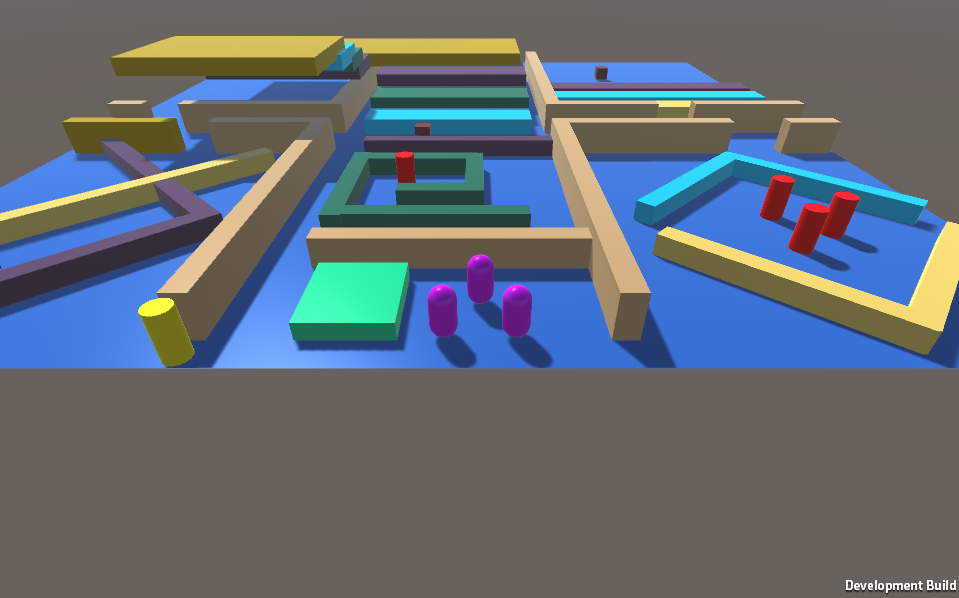
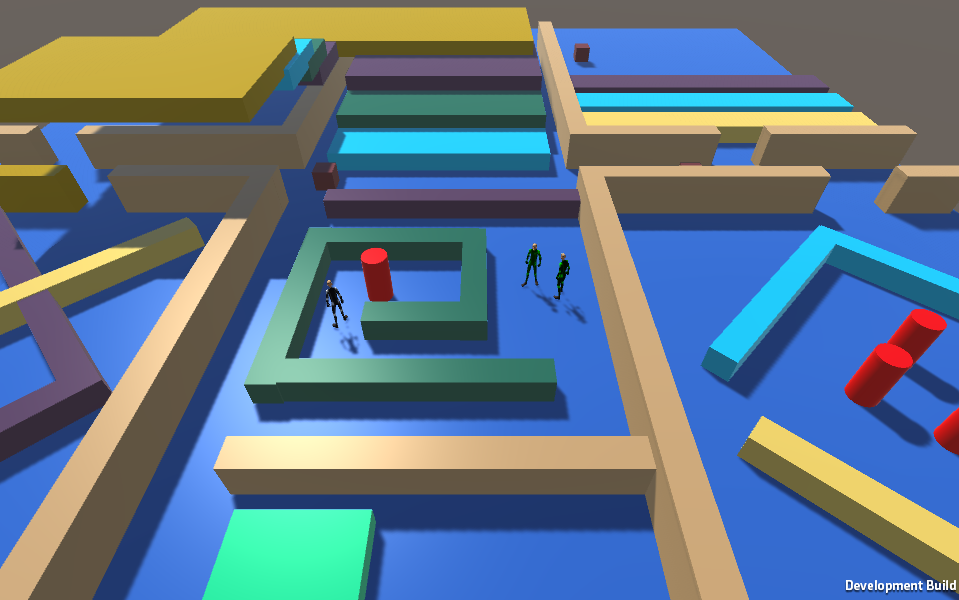
You can select an agent by clicking on the purple capsule using the Left Mouse Button.
After the agents are selected you can order them to navigate somewhere by clicking anywhere on the map using the Right Mouse Button.
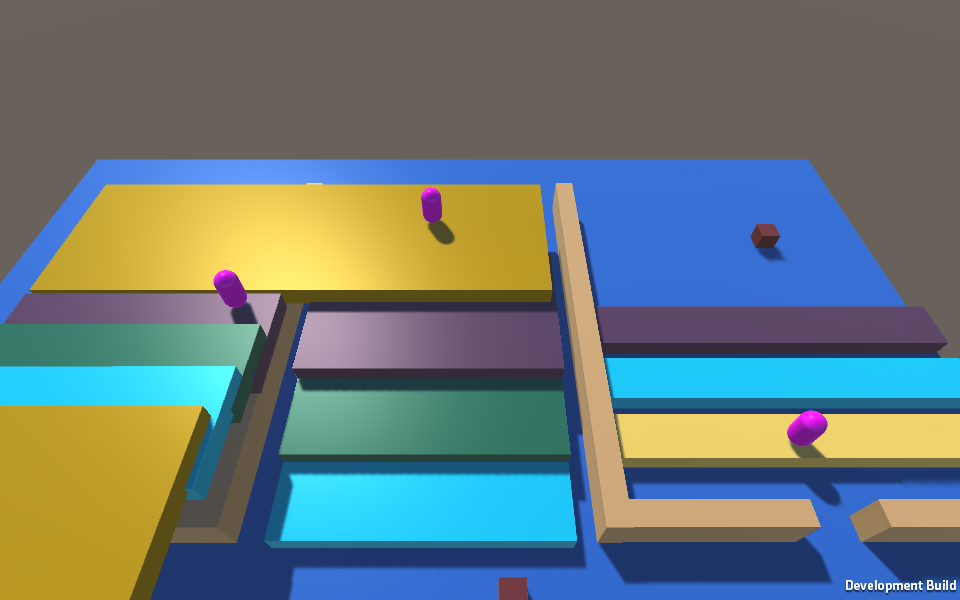
You can also move an obstacle by clicking on a red cylinder and using the arrow keys. The cylinder in this picture is now blocking a doorway from the middle room to the room on the left.
This obstacle forces the agents to take the long way when asked by the user to enter the room.
Brief Implementation Description
Unity Tutorial Used: Link
NavMeshAgent:
The Unity object must have a navMeshAgent component. In c# we retrieved this component with:
1
navMeshAgent = GetComponent<NavMeshAgent>();
We then set the agent to travel to the mouse click location using Raycast.
1
2
3
4
5
6
RaycastHit hit;
...
if (Physics.Raycast (ray, out hit, 100)) {
	navMeshAgent.destination = hit.point;
	navMeshAgent.Resume ();
...
Camera Positon:
The Camera is set to always positioned at the middle of all the agents:
1
2
3
4
5
6
7
8
9
10
...
Vector3 difference;
		sum = new Vector3 (0, 0, 0);
		for(int i=0; i<agents.Length; i++)
		{
			sum += agents[i].transform.position;
		}

		position = sum / (float)agents.Length;
...
The MeshLinks were created by using empty object to link two Navigation Meshes
Animation
You can play the Unity by clicking on the link here.
Controls
Use the arrow keys to move the player around. The player will only walk.
Press Left Shift for the player to start running. Use space to make the
player jump.
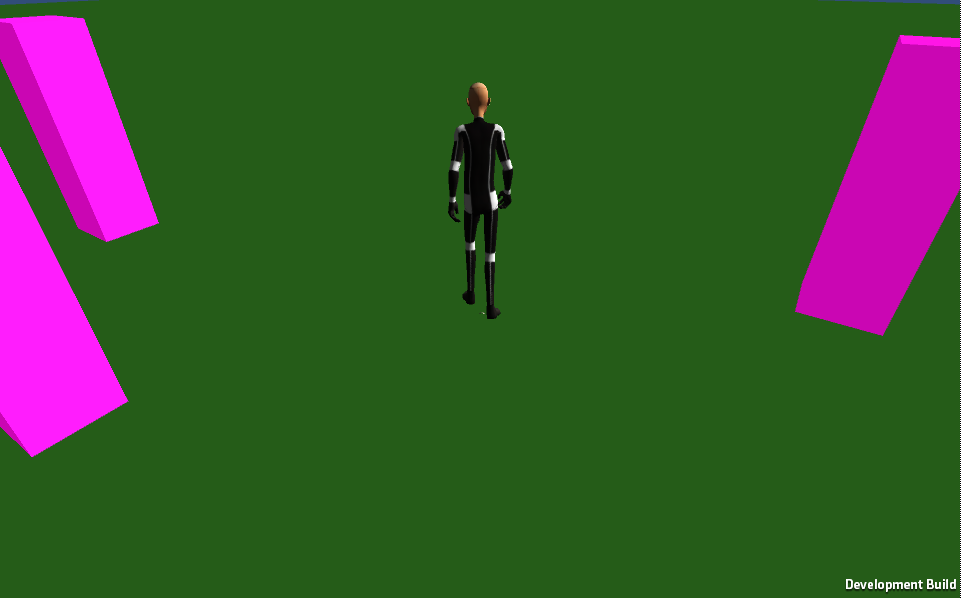
In Unity, Animation helps animate the character as it is in various states. A transition occurs from one state to another when the parameter condition of a transition is met. We made a simple character who can walk, run and jump.
Play Through
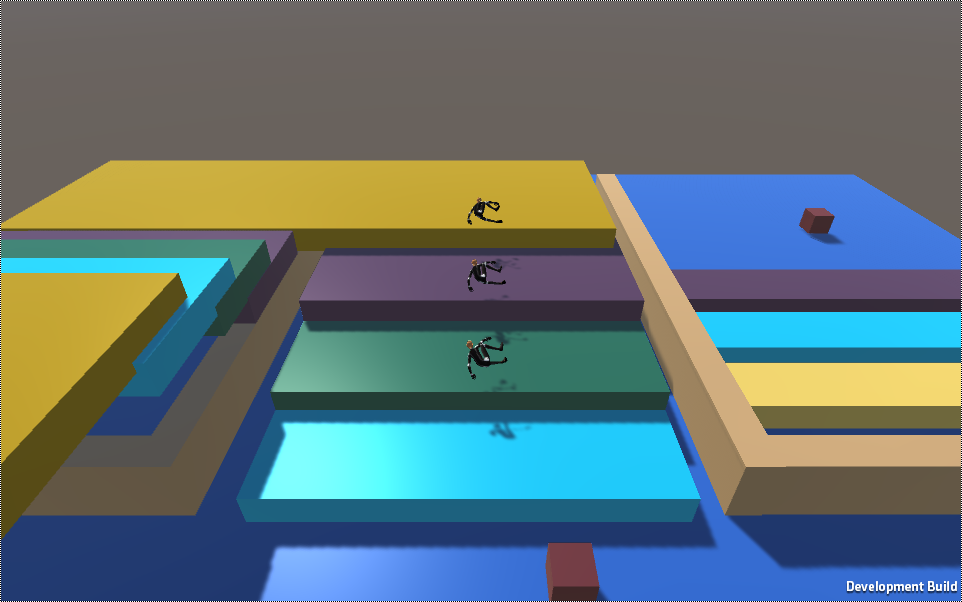
Use the arrow keys to get the character walking.
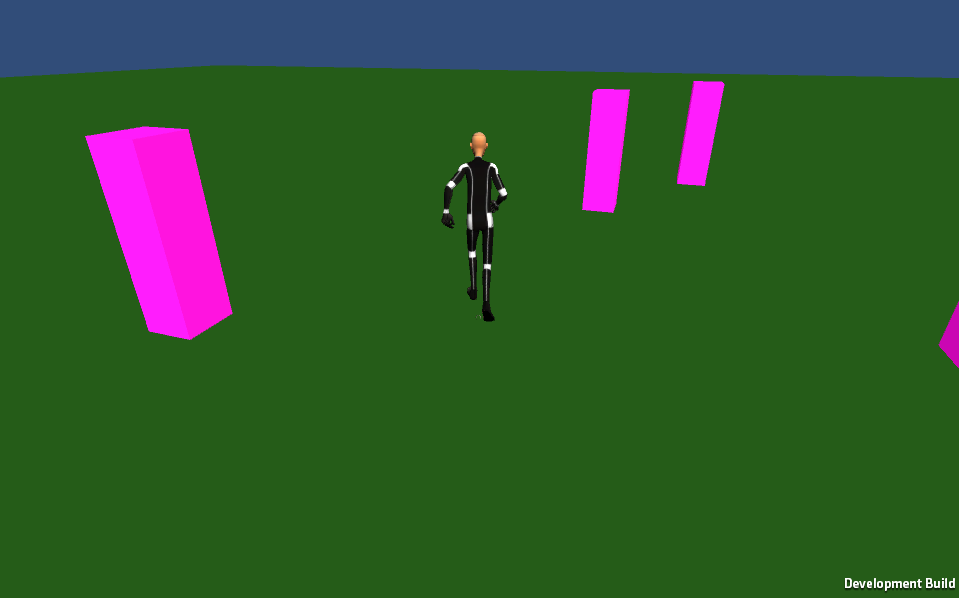
While the character is walking, hold down shift to get the character running. This is a picture of the character running.
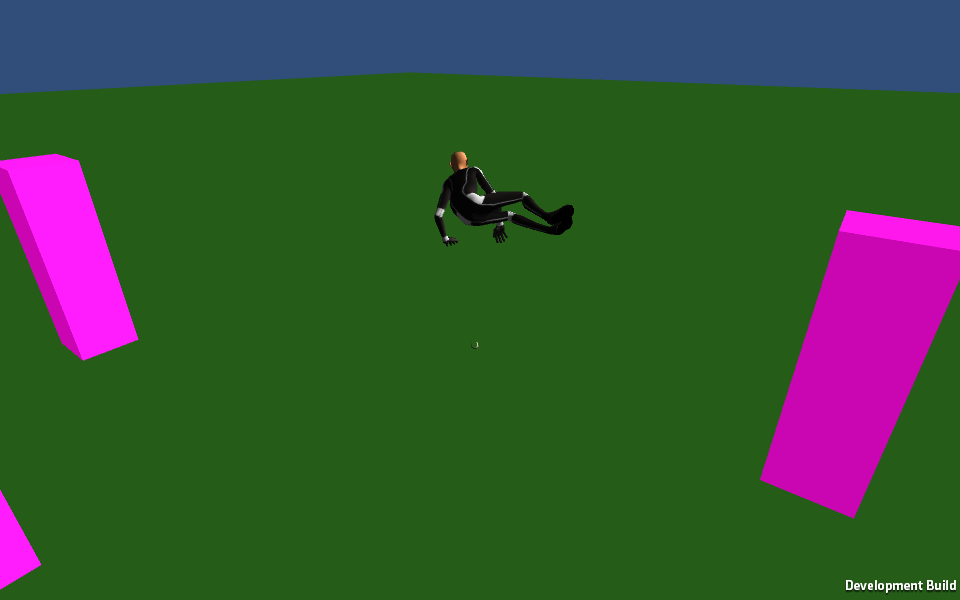
You can press spacebar to make the character jump. This is a picture of the character jumping.
Brief Implementation Description
Blend Trees 1-D Blending: Link
Triggers are parameters for animation control. For example, we used a trigger to make our character jump.
1
2
3
4
5
6
7
8
9
10
11
12
...

int jumpHash = Animator.StringToHash("Jump");

...
if(Input.GetKeyDown(KeyCode.Space))
		{
			animController.SetTrigger (jumpHash);
			...
		}

...
Combination Navigation and Animation
You can play the Unity by clicking on the link here.
Controls
Left click to select the agents. Right click to walk.
Hold down left shift and right click to run.
The characters will automatically jump when navigating to a higher level plane.
Obstacles and Roaming Obstacles follow the same controls as part 1
In this part we combined both the animation and the navigation in Unity.
Play Through
You can select an agent by left clicking on them. The agent will turn green.
You can right click on an area to have the agents walk to that area.

You can hold down left shift while right clicking to make the agent run.
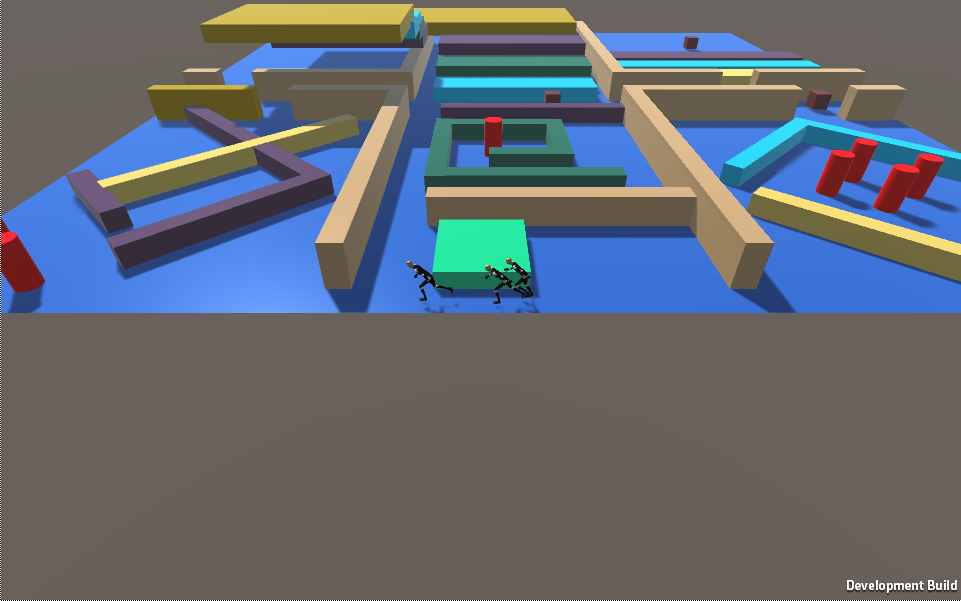
The agents jump automatically jump when needed.
Brief Implementation Description
The navigation agent parameters were used to update the agents animations.
For Running:
1
2
3
4
5
6
7
8
9
...
if (Physics.Raycast (ray, out hit, 100))
{
	if(Input.GetKey(KeyCode.LeftShift))
	{
		navMeshAgent.speed = 6f;
	}

...
The higher speed signals a transition from the walking state to the running state.
For jumping, we override the jump animation for the MeshLink
1
2
3
4
5
6
7
8
9
...
else if (!anim.IsInTransition(0)) {
	if(anim.GetCurrentAnimatorStateInfo(0).tagHash != jumpHash) {
		agent.CompleteOffMeshLink();
		agent.Resume();
		agent.nextPosition = currLink.endPos;
		traversingLink = false;
	}
...
Github Link: Here